Sourdough For Dummies


If you love making bread and looking to impress, but runny short on time, then CHECK out this ‘Sourdough for Dummies’ recipe. I admit it is not a true sourdough recipe, as traditionally the sourdough ‘starter’ is made from fermented grapes, however, if you are in a hurry, or a beginner who just wishes to have a go to build confidence, then this easy recipe certainly provides authentic flavour in half the time, and will certainly impress your guests.
Before you start please read NOTES as I offer guiding steps for success, and try to always use a flour specifically suitable for bread making (look for strong bread flour on the packet) as you really do need the flour to have a strong gluten content or otherwise you will end up with literally flatbread – very tasty but flat!
Finally, as with a traditional grape fermented sourdough, it is also possible to keep the ‘starter’ alive with this method, especially if you make this type of bread on a regular basis. To do this I recommended to remove 100ml of the ‘starter’ plus a small handful of the dough from your initial bake, store together in a jam jar and refrigerate. Use as the ‘starter’ for your next bake naturally repeating the process.
Ingredients
-
Simple Starter:
-
100g white bread flour- strong
-
100g dark rye flour- organic
-
½ x 7g sachet fast action dried yeast
-
250ml cold water
-
Main Dough:
-
400g white bread flour- strong
-
1 tbsp salt- optional
-
½ x 7g sachet fast action dried dried yeast
-
200ml cold water
Instructions
-
First Stage: Make the important STARTER.
-
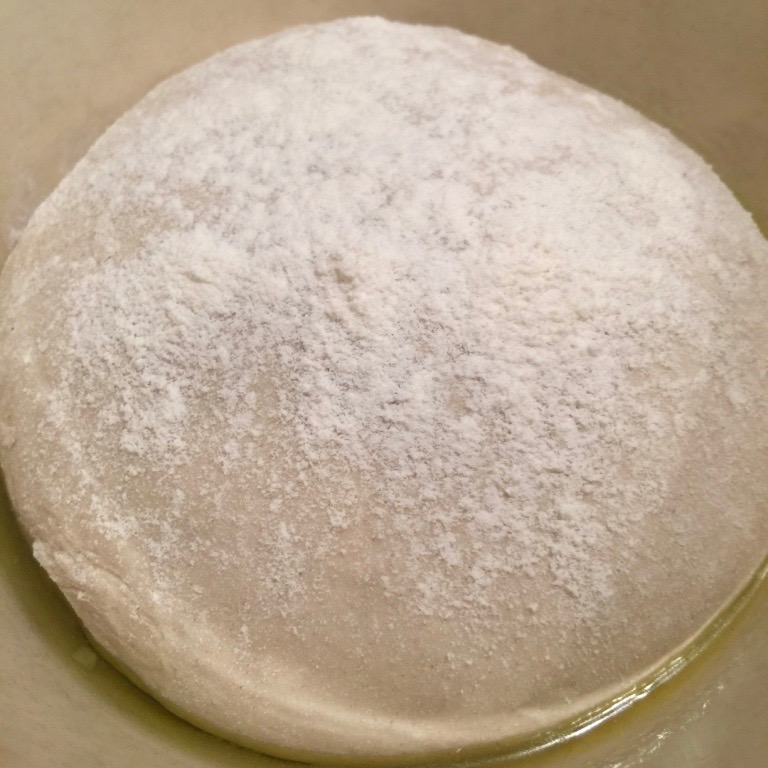
01 Place all ingredients into a medium sized bowl, add cold water and mix well with a spoon to form a spongy mixture. Cover with cling film and leave at room temperature for up to 24 hours (see image 2).
-
Second Stage: Make the DOUGH.
-
02 Place the flour, salt and fermented starter into a medium sized bowl. Add 200mls cold water and bring all the ingredients together, adding EXTRA WATER if the mixture too dry. Tip onto a lightly floured surface and knead for at least 10 minutes until smooth, elastic and springy.
-
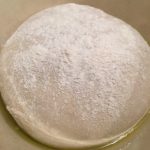
03 Lightly oil the base and sides of a clean, generous sized bowl, and place the dough in the middle, cover with cling film and leave to double in size - this could take an hour or so (image 3)
-
Third Stage: Final shape and RISE.
-
04 Tip the dough onto a lightly floured surface, lightly knock back and shape into a round.
-
05 Lay a piece of non stick baking paper on to the work top surface, dust heavily with flour and sit the dough on top. Cover with a tea towel and leave to prove/double in size again (often takes an hour or so).
-
Oven Time: Steamy HOT BAKE.
-
06 Take 2 baking trays and place both in the hot oven: flat tray on the top and a smaller tray with sides underneath.
-
07 Whist trays are heating hot, remove cloth from dough, dust with flour and slash the top with a very sharp knife.
-
08 Remove hot flat try from oven and slide the dough onto the tray and place in the oven.
-
09 IMPORTANT: before closing the oven door, quickly throw several ice cubes on to the bottom tray and then shut.
-
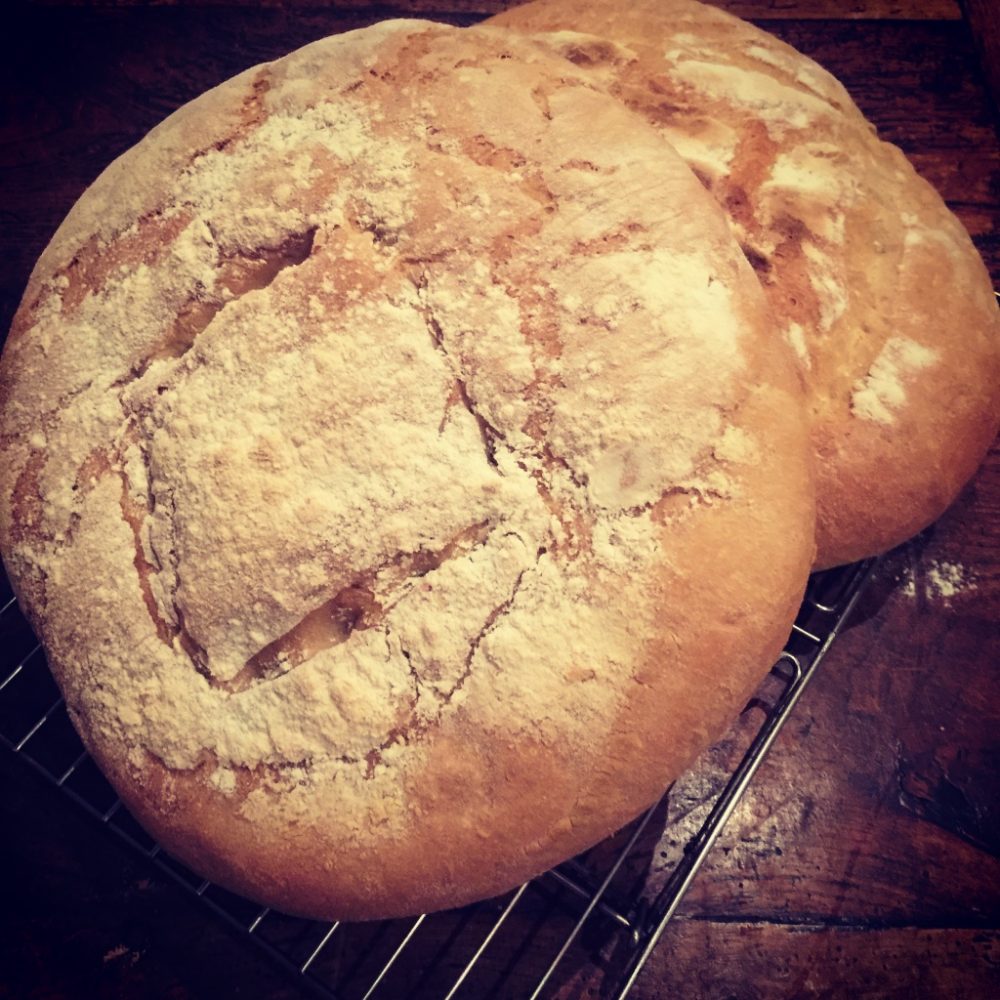
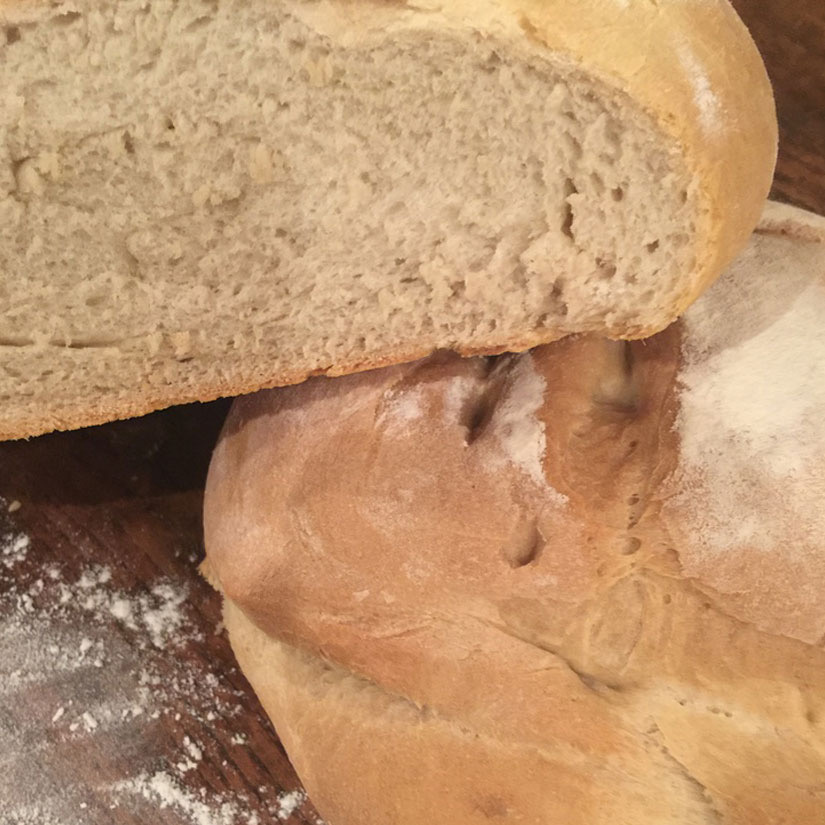
10 Bake for 25-30 minutes until golden brown (images 1 and 4).
Notes
* Use any strong bread flour - white, brown or malted. * Recommend to include RYE flour for the traditional taste. * If you can, use the dough hook on an electric mixer - only need to beat for 5-7 minutes. * Always use a bowl large enough for the dough to double in size. * Work the dough with lightly floured hands. * After first bowl rise, be gentle when shaping. Do not knock out too much air. * Recommend to place the shaped dough into the fridge to rise again before baking. * During cooking - important to add ice cubes or cold water to the bottom tray, this will create a burst of steam which helps to give the bread its characteristic sourdough crust. * At the end of cooking always 'tap' test the bottom of the bread - should sound hollow.


