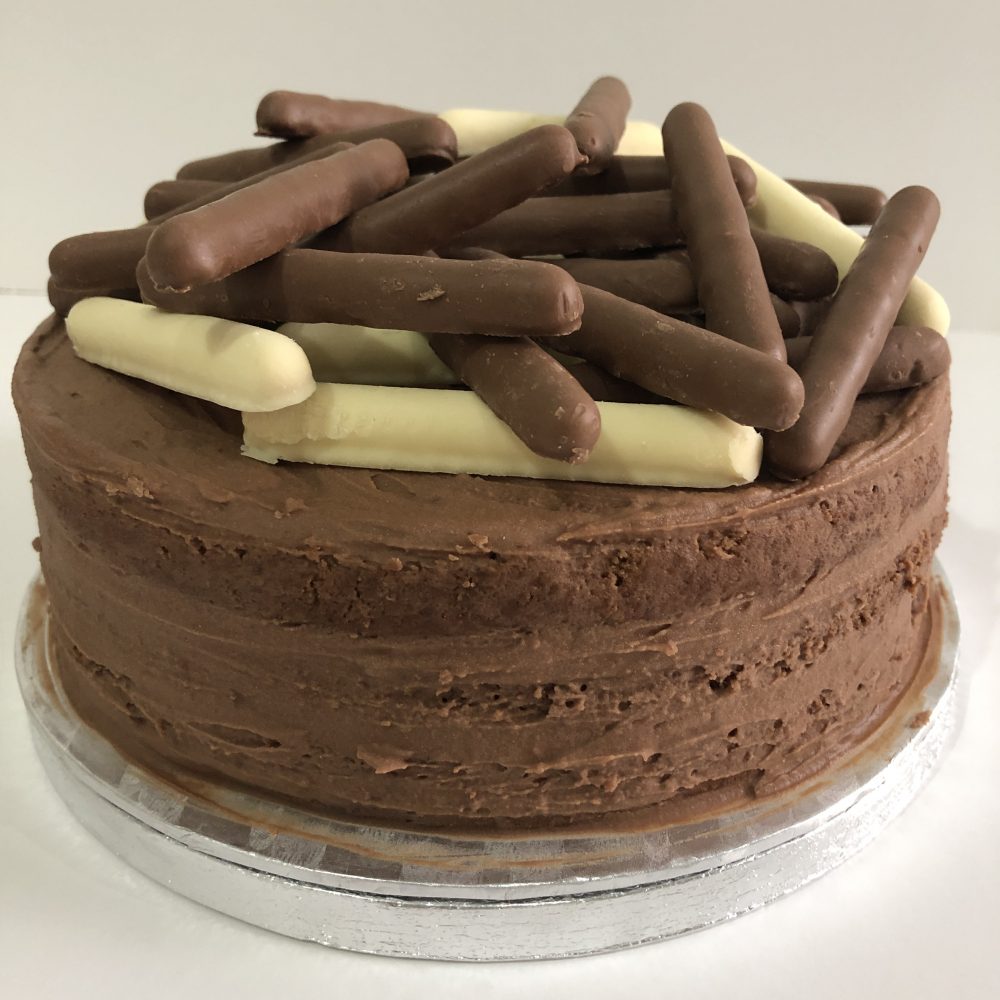
Chocolate Finger Cake
If you are looking for a ‘pull out of the bag success chocolate cake’, then this has to be the one. So easy and guaranteed to never let you down. I make mine always in an electric food mixer (life just has to be easy!) but of course, for the purist bakers it can always be done by hand.
I use chocolate finger biscuits to decorate – why I hear you ask… because its easy, and if you mix between white and milk chocolate you definitely get an attractive end result, however, one can always decorate to suit the occasion – candles for birthdays, chocolate flakes for a more unctuous result. Whatever the occasion, this cake ticks all the boxes.
Happy baking and of course, happy eating!
Ingredients
-
Cake
-
250g unsalted butter- softened
-
250g self raising flour- sifted
-
250g caster sugar
-
4 tbsp cocoa powder
-
4 eggs
-
3 tbsp milk
-
2 tsp vanilla paste or 1 capful of essence
-
1 tsp baking powder
-
Icing
-
100g plain chocolate- melted
-
200g unsalted butter- softened
-
400g icing sugar- sifted
-
2 tbsp cocoa powder
-
2 tbsp milk
-
1 tsp vanilla extract
-
Decoration
-
2 x 114g packet of chocolate biscuit fingers- milk chocolate and white chocolate
Instructions
-
Prepare cake tins:
-
01 Lightly butter the sides of each sandwich tin and line with a circle of non-stick baking paper.
-
Cake:
-
02 In a large mixing bowl combine all ingredients. Beat well for 1-2 minutes (a Kenwood mixer is GREAT for this).
-
03 Divide the cake mixture evenly into the prepared baking tins and bake until risen and just firm to a gentle touch. Cool in the tins.
-
Icing:
-
04 Melt the chocolate in a bowl set over a pan of simmering water or 1-2 minutes in the microwave. Allow to cool until the chocolate no longer feels hot to the touch.
-
05 Beat the butter in a bowl until soft, then gradually beat in the icing sugar. Add the vanilla extract and beat again.
-
06 Fold in the melted chocolate until completely incorporated and finally the milk, adding a few extra drops of milk if the mixture is too stiff.
-
Assemble:
-
07 Place one half of the cake onto a cake board, bottom side down. Spoon enough chocolate icing to smother the top. Add the second cake and now smother all over with icing, including the sides.
-
08 Decorate the top with chocolate finger biscuits.
Notes
I recommend 2 x 9"/ 22cm deep sandwich tins, lined with non-stick paper. It is possible to make this cake by hand but I love to use my commercial electric mixer for the cake and for the icing. This cake is great for freezing ahead, either as cake halves or even after decorating (without the chocolate fingers of course). Any left over icing can be used for cup cakes - just place in a sealed container and refrigerate or freeze.

